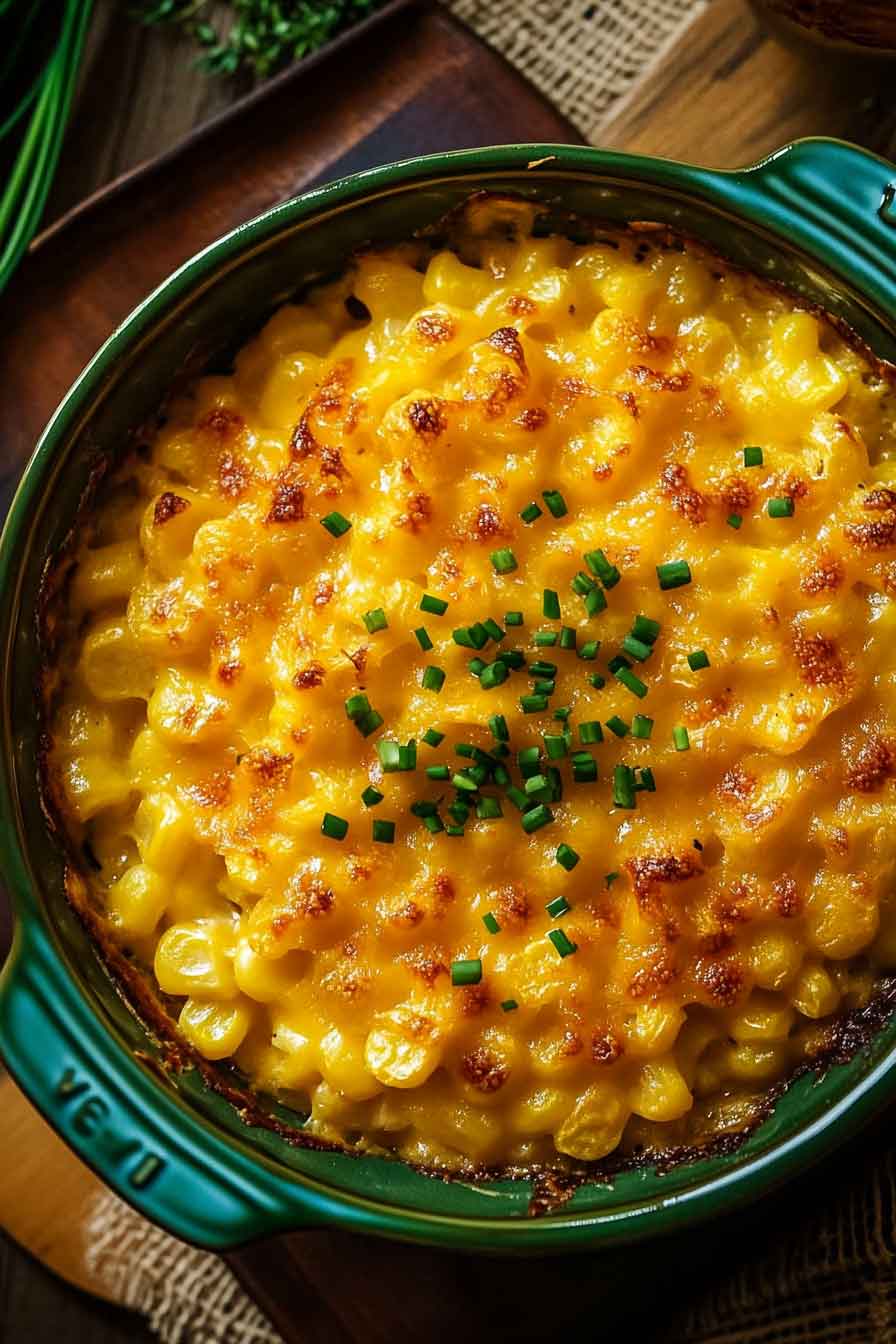
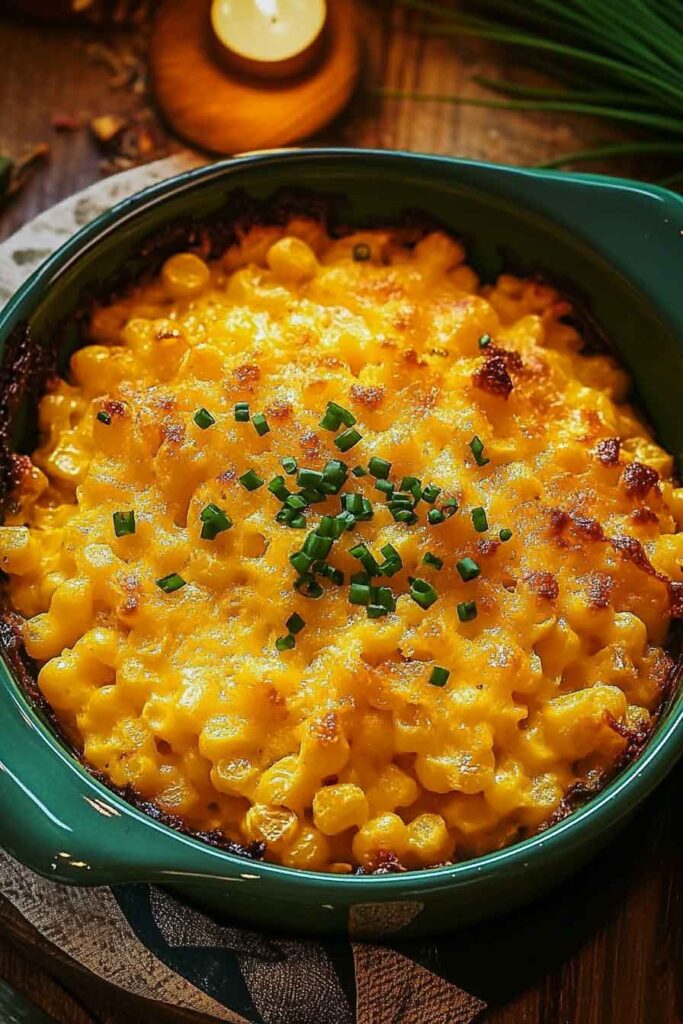
Scalloped Corn: A Cozy Classic Worth Making Again and Again
Oh wow, have you ever tried scalloped corn? It’s like the warm hug of side dishes. Seriously, it’s so simple, but soooo good.
I made it the other night, and yep—it was gone fast. The corn gets all soft and creamy, with this buttery top that’s just perfect. It tastes like something Grandma would make.
If you love cozy, easy comfort food, this one’s for you. You don’t need fancy stuff, just a few things you probably already have. It’s great for holidays, but honestly… I could eat it any day.
So let me show you how I make it. It’s easy-peasy and fun to put together. Come on, let’s get started!
Why You’ll Love This Recipe
- Classic Comfort Food: Simple ingredients, nostalgic flavor, and a warm, creamy texture that brings back memories.
- Perfect Side Dish: Great for Thanksgiving, Christmas, or any family dinner.
- Make-Ahead Friendly: Easy to prep ahead and bake when you’re ready.
- Beginner-Friendly: No complicated steps—just mix and bake.
- Kid-Approved: The slightly sweet flavor makes it appealing to little ones, too.
What You Need to Know Before You Start
Prep Time & Cook Time:
Prep Time: 10 minutes
Cook Time: 45 minutes
Total Time: 55 minutes
Servings:
This recipe serves about 6-8 people as a side dish. Easily doubled for a larger group or holiday meal.
Difficulty:
Very easy. No special equipment or skills required—just a bowl, a spoon, and an oven.
Required Kitchen Tools
- Mixing bowl
- Measuring cups and spoons
- 8×8 or 9×9-inch baking dish (or similar size)
- Whisk or fork
- Spatula or spoon
- Oven
Ingredients for Scalloped Corn
Here’s what you’ll need to make this classic baked side dish. (Exact measurements are included in the recipe card at the end.)
- Whole Kernel Corn: One can, drained. Adds texture and bursts of sweet corn flavor.
- Cream-Style Corn: One can, undrained. Creates the creamy base.
- Eggs: Help bind everything together and give structure.
- Milk: Whole or 2% milk works best for richness.
- Unsalted Butter: Melted butter adds richness and flavor.
- Sugar: Just a touch to enhance the natural sweetness of the corn.
- Salt and Black Pepper: Simple seasonings to balance the flavors.
- Crushed Buttery Crackers (like Ritz): Mixed into the dish for texture and sprinkled on top for a crisp, golden crust.
- Chives or Parsley (optional): For garnish and a pop of color after baking.
Variations for Scalloped Corn
- Add Cheese: Stir in ½ to 1 cup of shredded cheddar or Monterey Jack for a cheesy twist.
- Spice It Up: Add a pinch of cayenne pepper or a few dashes of hot sauce for a little heat.
- Use Fresh Corn: If it’s in season, you can substitute canned corn with about 2 cups of fresh, cooked corn kernels.
- Go Gluten-Free: Use gluten-free crackers or breadcrumbs for the topping instead of Ritz.
- Add Onion or Bell Pepper: Finely chop and sauté ¼ cup of onion or pepper for extra flavor and texture.

How to Make Scalloped Corn
Step-by-Step Instructions
1. Preheat the Oven
Set your oven to 350°F (175°C). Lightly grease your baking dish with butter or cooking spray.
2. Mix the Wet Ingredients
In a large mixing bowl, whisk together the eggs and milk until smooth. Stir in the melted butter.
3. Add the Corn
Pour in both the drained whole kernel corn and the undrained cream-style corn. Stir gently to combine.
4. Season and Sweeten
Add the sugar, salt, and black pepper. Mix until everything is evenly distributed.
5. Stir in Crushed Crackers
Fold in half of the crushed buttery crackers. These will soak up moisture and help bind the mixture.
6. Pour into Baking Dish
Spoon the mixture into your prepared baking dish and spread it out evenly.
7. Top with More Crackers
Sprinkle the remaining crushed crackers evenly over the top. If desired, drizzle a little extra melted butter for a crispier finish.
8. Bake
Place the dish in the oven and bake for 40–45 minutes, or until the top is golden brown and the center is set. A knife inserted into the middle should come out clean.
9. Cool Slightly
Let the scalloped corn rest for about 5–10 minutes before serving. This helps it set up and makes it easier to scoop.

How to Serve Scalloped Corn
This dish is warm, creamy, and pairs well with just about any main course. Here are a few serving ideas:
- With Roasted Turkey or Chicken: A classic match, especially during the holidays.
- Alongside Ham: Its sweet and savory profile complements glazed ham beautifully.
- With Meatloaf or Pork Chops: Adds a soft, creamy contrast to hearty meats.
- As a Casserole Dish: Perfect for potlucks or buffets—easy to scoop and serve.
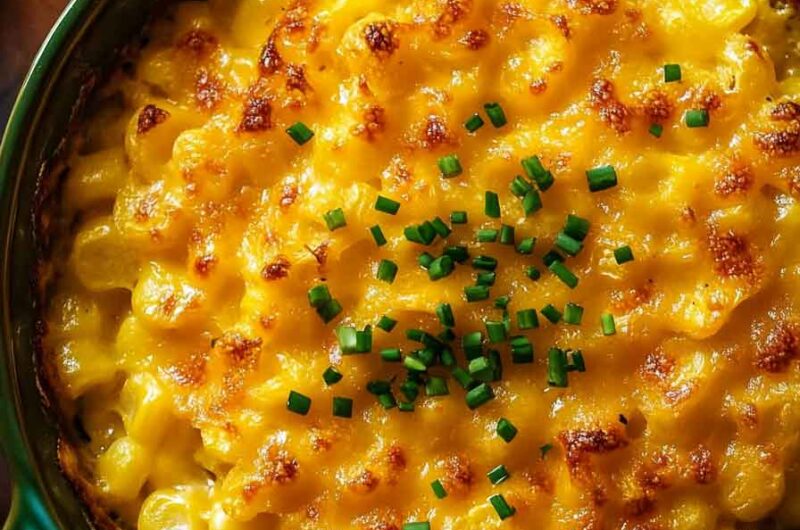
Garnish Tip: Sprinkle with chopped chives or parsley just before serving for color and freshness.
Storing Scalloped Corn
Refrigerator:
Store leftovers in an airtight container or cover the baking dish tightly with foil. It keeps well in the fridge for up to 4 days.
Reheating:
Warm in the oven at 325°F until heated through (cover with foil to prevent over-browning), or microwave individual portions for about 1–2 minutes.
Freezing:
This dish is best enjoyed fresh. The texture may change slightly if frozen and reheated, but it can be frozen in a well-sealed container for up to 2 months.
Tips and Tricks for Success
- Use Room-Temperature Eggs: Helps them blend smoothly with the milk.
- Crush Crackers by Hand or in a Bag: You want some small crumbs and some bigger pieces for the best texture.
- Don’t Overbake: Keep an eye on the top. If it’s browning too fast, cover loosely with foil during the last 10 minutes.
- Let It Rest: Just a few minutes after baking helps the dish firm up and makes serving easier.
- Double the Recipe for a Crowd: Use a 9×13-inch dish and extend the baking time by about 10 minutes.
Nutrition
Here’s an estimate per serving (based on 8 servings):
| Nutrient | Amount |
|---|---|
| Calories | ~220 kcal |
| Carbohydrates | ~24g |
| Protein | ~5g |
| Fat | ~12g |
| Saturated Fat | ~5g |
| Fiber | ~2g |
| Sugar | ~6g |
| Sodium | ~320mg |
Note: Nutrition values are approximate and can vary depending on specific ingredients used.
Scalloped Corn: A Cozy Classic Worth Making Again and Again
Course: Dinner Ideas6–8
servings10
minutes45
minutes~220
kcal55
minutesIngredients
1 can (15 oz) whole kernel corn, drained
1 can (15 oz) cream-style corn
2 large eggs
1/2 cup milk
1/4 cup unsalted butter, melted
1 tablespoon sugar
1/2 teaspoon salt
1/4 teaspoon black pepper
1 cup crushed buttery crackers (like Ritz), divided
Chopped chives or parsley for garnish (optional)
Directions
- Preheat oven to 350°F (175°C). Lightly grease an 8×8-inch or 9×9-inch baking dish.
- In a large bowl, whisk eggs and milk together. Stir in melted butter.
- Add both types of corn, sugar, salt, and pepper. Mix well.
- Fold in half of the crushed crackers.
- Pour mixture into prepared baking dish.
- Top with remaining crushed crackers. Drizzle with a little extra melted butter if desired.
- Bake for 40–45 minutes, or until golden brown and set in the center.
- Cool slightly before serving. Garnish with chopped herbs, if using.
Scalloped Corn FAQs
Can I make this ahead of time?
Yes! You can mix everything together (except the cracker topping) and store it in the fridge, covered, for up to 24 hours. Add the topping just before baking.
What’s the difference between scalloped corn and corn pudding?
Scalloped corn usually has a firmer texture and cracker topping. Corn pudding is creamier and often includes flour or cornstarch.
Can I use frozen corn instead of canned?
Yes, just thaw and drain it well. Use about 2 cups to replace one 15-ounce can.
Is it okay to skip the sugar?
If you prefer less sweetness, you can leave it out or reduce the amount to your taste.
Conclusion
Scalloped Corn is that comforting side dish that quietly steals the show. It’s simple, reliable, and always welcome at the table—especially when you’re feeding a crowd. Whether it’s the holidays or just a regular dinner, this recipe brings warm, buttery flavor and just the right touch of sweetness.