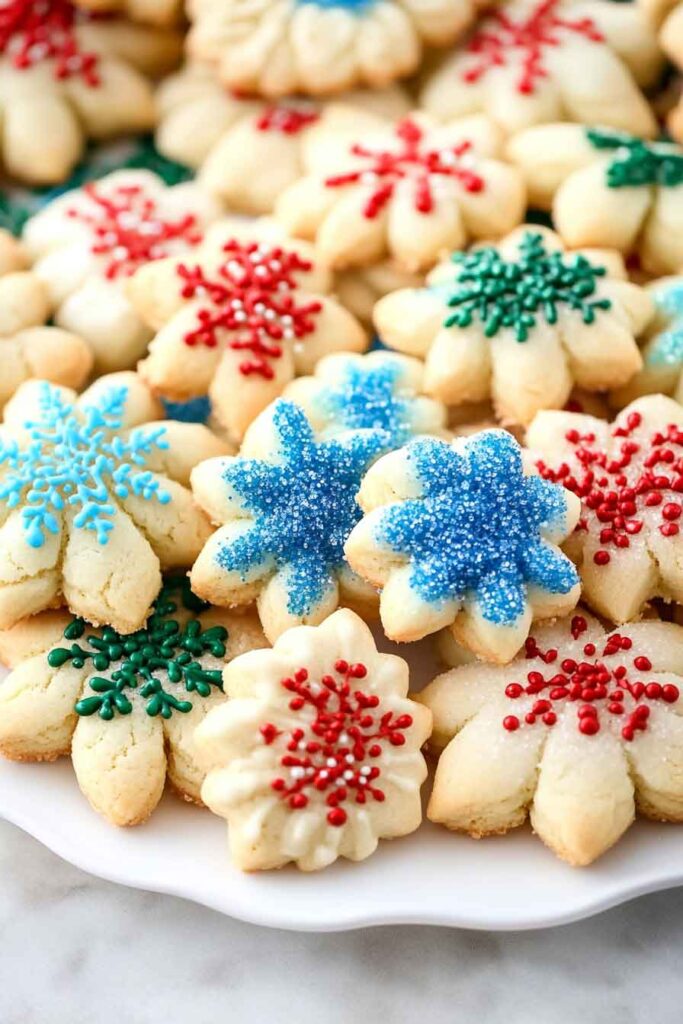
Classic Spritz Cookies: Buttery, Festive, and Irresistible
These spritz cookies are buttery, delicate, and melt-in-your-mouth good. Perfect for the holidays or anytime you want a little treat. And they’re so fun to make!
I whipped up a batch with the kids, and they were a total hit. The dough comes together easily, and the cookie press makes beautiful, festive shapes. Plus, the buttery flavor? Absolutely irresistible.
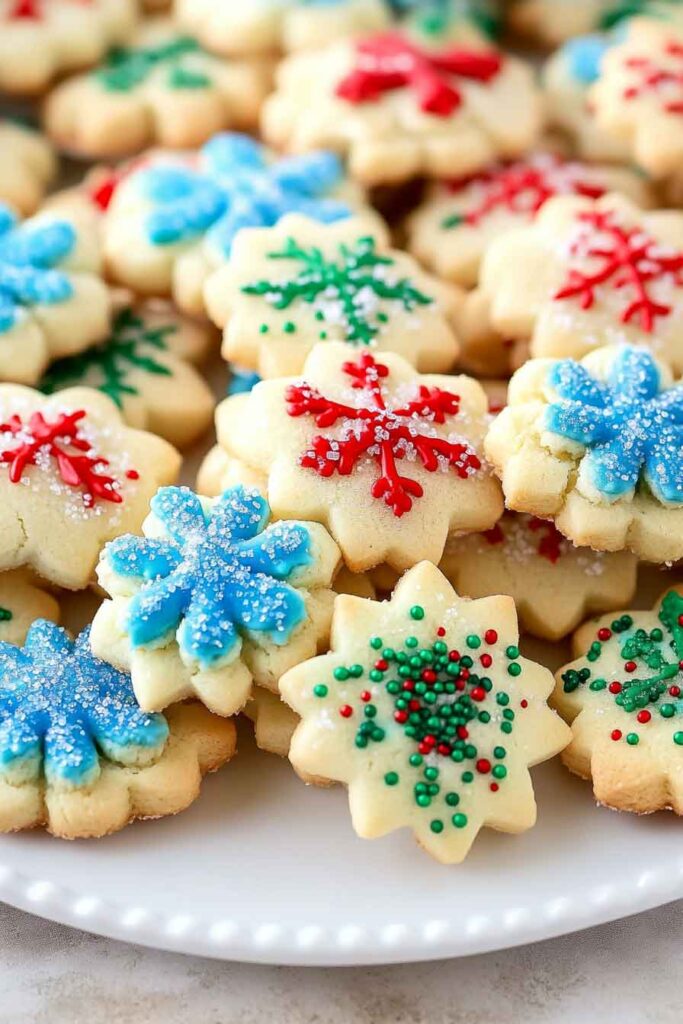
They’re light, crisp, and perfect for dipping in coffee or decorating for parties. Great for cookie trays, gifts, or just a sweet bite to brighten your day. Trust me, you’ll be hooked.
Let’s bake a batch of these festive cookies! They’re easy, pretty, and totally delicious. Grab your cookie press—let’s make something special!
Why You’ll Love This Recipe
- Timeless Favorite: Spritz cookies are a staple of holiday baking, offering a familiar taste and texture that evokes childhood memories and family traditions.
- Buttery and Crisp: The balance of butter and sugar creates a light, crisp cookie with just enough sweetness.
- Quick to Prepare: With minimal chilling time, these cookies can go from mixing bowl to oven in a flash—ideal for busy holiday schedules.
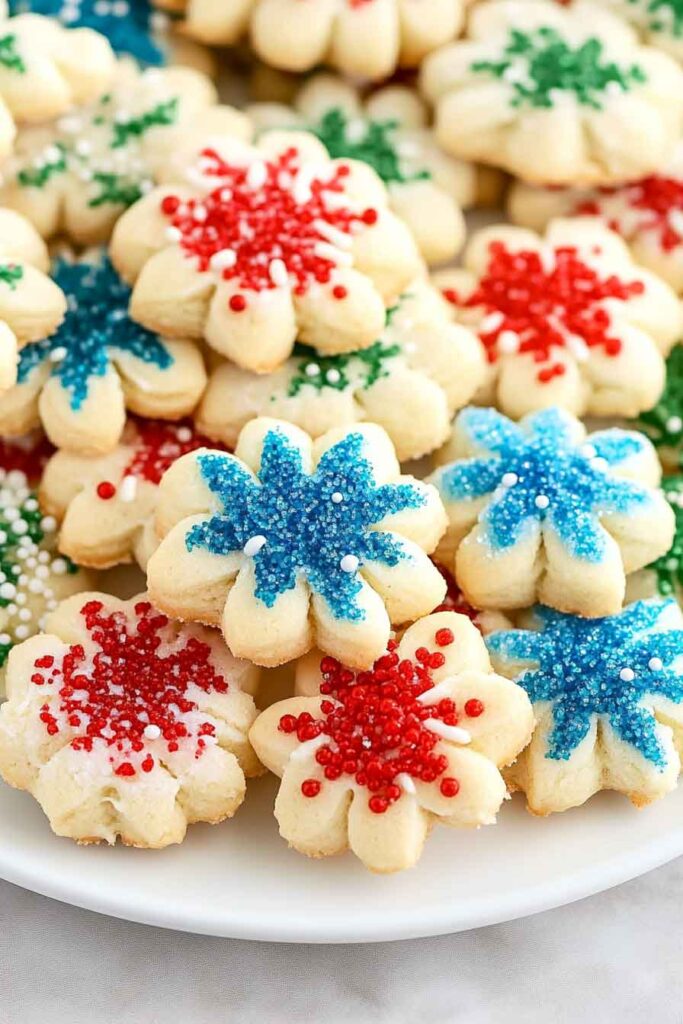
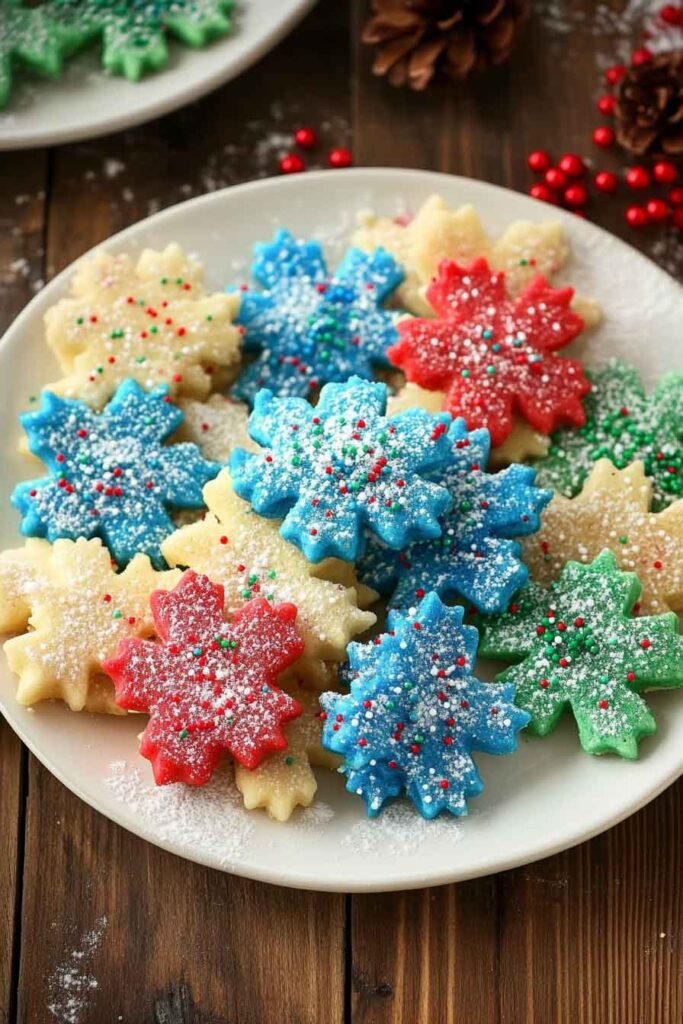
- Customizable and Fun: Choose from a range of press shapes and colors. Add a few drops of food coloring to make vibrant cookies, or experiment with flavored extracts like almond or lemon.
- Perfect for Gifting: Their uniform shapes and long shelf life make them a great option for holiday gift boxes or cookie trays.
What You Need to Know Before You Start
Prep Time & Cook Time:
- Prep Time: About 15 minutes to mix the dough and load the cookie press.
- Bake Time: 8–10 minutes per batch, depending on your oven and the size of the cookies.
- Total Time: Roughly 1 hour from start to finish, including cooling time.
Servings:
This recipe yields around 48 cookies, perfect for a small gathering or to share. If you need more for a big event or cookie exchange, the recipe doubles easily.
Difficulty:
The dough is straightforward to mix, but the cookie press requires a bit of practice for even shaping. Once you get the hang of it, it’s an enjoyable and satisfying process.
Required Kitchen Tools
- Cookie Press: The star of the show—this tool shapes the dough into decorative forms like stars, trees, flowers, or hearts.
- Mixing Bowls: At least two are needed—one for dry ingredients and one for the wet mixture.
- Hand or Stand Mixer: Creaming butter and sugar until fluffy is key to the cookie’s light texture.
- Measuring Cups and Spoons: Precision is important for consistent results.
- Baking Sheets: Light-colored sheets work best for even baking. Line them with parchment paper to prevent sticking and make cleanup easier.
- Cooling Rack: Allows cookies to cool completely without becoming soggy.
- Optional: Food coloring, sprinkles, colored sugar, or melted chocolate for decorating.
Ingredients for Classic Spritz Cookies
Here’s everything you’ll need to make these buttery, crisp cookies. Exact measurements are listed in the recipe card at the end for convenience.
For the Cookies:
- Unsalted Butter: Softened to room temperature; butter is the star ingredient that gives spritz cookies their rich flavor.
- Granulated Sugar: Adds sweetness and helps create a light texture.
- Egg: Provides structure and helps bind the dough.
- Vanilla Extract: For classic flavor; you can also substitute almond extract for a twist.
- All-Purpose Flour: Forms the base of the dough; measure carefully for consistent results.
- Salt: Balances the sweetness and enhances the buttery flavor.
- Optional Food Coloring: Add drops of food coloring to tint the dough for a festive touch.
- Sprinkles or Colored Sugar (Optional): For decorating the cookies before baking.
How to Make Classic Spritz Cookies: Step-by-Step Instructions
1. Preheat the Oven and Prepare Baking Sheets
- Preheat your oven to 350°F (177°C). Line baking sheets with parchment paper or leave them unlined for better adherence (spritz cookies often hold better without parchment).
2. Cream the Butter and Sugar
- In a large mixing bowl, use a hand mixer or stand mixer to beat the softened butter and granulated sugar together on medium speed. Beat for about 2-3 minutes until the mixture becomes light, creamy, and fluffy.
3. Add the Egg and Vanilla
- Beat in the egg and vanilla extract (or almond extract if using). Mix until fully combined and smooth.
4. Mix the Dry Ingredients
- In a separate bowl, whisk together the all-purpose flour and salt. Slowly add the dry mixture to the wet ingredients, mixing on low speed until just combined. Avoid overmixing, which can toughen the cookies.
5. Optional: Color the Dough
- If using food coloring, divide the dough and add a few drops to each portion. Mix until the color is evenly distributed.
6. Load the Cookie Press
- Transfer the dough into the cookie press fitted with your chosen shape disk. Press the dough directly onto ungreased baking sheets. Space the cookies about 1 inch apart, as they won’t spread much during baking.
7. Decorate
- Sprinkle with colored sugar or sprinkles before baking if desired.
8. Bake the Cookies
- Bake in the preheated oven for 8-10 minutes, or until the edges just begin to turn golden. Be careful not to overbake, as spritz cookies are delicate and can dry out easily.
9. Cool and Decorate (Optional)
- Let the cookies cool on the baking sheet for 2-3 minutes before transferring to a wire rack to cool completely. Once cooled, you can drizzle them with melted chocolate or leave them plain.
Variations for Classic Spritz Cookies
- Almond Twist: Substitute vanilla extract with almond extract for a nutty flavor.
- Citrus Zest: Add finely grated lemon or orange zest to the dough for a fresh, citrusy note.
- Chocolate Drizzle: Once the cookies have cooled, drizzle them with melted dark, milk, or white chocolate for a decorative finish.
- Colorful Dough: Divide the dough into sections and use different food colorings for a fun, festive cookie platter.
- Spice It Up: Mix a pinch of cinnamon or cardamom into the flour for a subtle, spiced aroma.
How to Serve Classic Spritz Cookies
Spritz cookies are perfect for:
- Holiday Parties and Cookie Swaps: Their uniform shapes and festive colors make them a standout addition to any holiday spread.
- Tea or Coffee Time: Their light, crisp texture pairs beautifully with a cup of tea or coffee.
- Gifting: Pack them into gift boxes or cookie tins to share with family and friends during the holidays.
- Everyday Treats: Make a batch to enjoy as an afternoon snack or dessert.
Storing Classic Spritz Cookies
- Room Temperature: Store cooled cookies in an airtight container at room temperature for up to 1 week.
- Freezing: Spritz cookies can be frozen for up to 3 months. Arrange them in a single layer on a baking sheet to freeze, then transfer to a freezer-safe container or bag. Thaw at room temperature before serving.
- Refrigeration (Not Recommended): Refrigerating may dry out the cookies, so it’s best to store them at room temperature or freeze them.
Nutrition Information (Per Cookie)
| Nutrient | Amount |
|---|---|
| Calories | ~70 |
| Total Fat | 4.5g |
| Saturated Fat | 2.8g |
| Cholesterol | 15mg |
| Sodium | 20mg |
| Total Carbohydrates | 6.5g |
| Sugars | 3g |
| Protein | 0.5g |

Classic Spritz Cookies: Buttery, Festive, and Irresistible
Course: Appetizers48
cookies15
minutes10
minutes70
kcalIngredients
1 cup (2 sticks) unsalted butter, softened
2/3 cup (130g) granulated sugar
1 large egg, at room temperature
1 1/2 teaspoons pure vanilla extract (or substitute with almond extract)
2 1/4 cups (280g) all-purpose flour, spooned and leveled
1/4 teaspoon salt
Optional: Food coloring, sprinkles, colored sugar for decoration
Directions
- Preheat the Oven: Preheat oven to 350°F (177°C). Prepare baking sheets (no parchment needed for best adherence).
- Cream the Butter and Sugar: In a large bowl, beat the softened butter and sugar with a hand mixer or stand mixer until light and fluffy, about 2–3 minutes.
- Add Egg and Extract: Mix in the egg and vanilla extract until smooth and fully combined.
- Combine Dry Ingredients: In a separate bowl, whisk together flour and salt. Gradually add to the wet ingredients, mixing on low speed until just combined.
- Color the Dough (Optional): If desired, divide the dough and mix in a few drops of food coloring until evenly blended.
- Load the Cookie Press: Fill the cookie press with dough and press cookies directly onto ungreased baking sheets. Space them about 1 inch apart.
- Decorate: Sprinkle with colored sugar or sprinkles if using.
- Bake: Bake for 8–10 minutes, until the edges are just starting to turn golden. Do not overbake.
- Cool: Let cookies cool on the baking sheet for 2–3 minutes, then transfer to a wire rack to cool completely.
- Optional Chocolate Drizzle: Once cooled, drizzle with melted chocolate if desired.
Classic Spritz Cookies FAQs
Q: Why isn’t my cookie press working?
A: If the dough is too soft, it may not hold its shape. Make sure your butter isn’t too warm and avoid over-mixing. Also, press the dough directly onto unlined baking sheets for better adherence.
Q: Can I make spritz cookies without a cookie press?
A: While the classic shapes rely on a cookie press, you can roll the dough into small balls and flatten them slightly with a fork for a simple alternative.
Q: How do I prevent spritz cookies from spreading?
A: Use room temperature butter, not melted. Also, ensure your dough isn’t too warm when pressing onto the baking sheet.
Conclusion
Classic Spritz Cookies are a timeless favorite for a reason. With just a handful of ingredients and a cookie press, you can create an array of beautiful, buttery cookies perfect for any occasion. They’re simple, festive, and completely customizable—ideal for holiday gatherings, gifting, or everyday snacking. With this detailed recipe, even beginners can achieve professional-looking results.